A missing rocker molding or incorrect grille insert can change the entire character of a classic Mercedes. This classic Mercedes exterior trim guide is built for owners who want to identify the right brightwork, rubber, hardware, and finish before ordering parts for a driver-quality repair or a serious restoration.
On Mercedes-Benz chassis from the W111 and W113 to the R107, W124, W201, and R129, exterior trim is rarely just decorative. It controls water, protects vulnerable panel edges, completes body lines, and signals the correct production era. Treat it as vehicle-specific equipment, not generic chrome.
Start With the Chassis, Body Style, and Production Year
The chassis code is the starting point, but it is not always enough. A W107 can mean an early 350SL, a later 560SL, or a related SLC coupe, and those cars can use different bumper details, side markers, moldings, and lighting trim. The same applies to W124 sedans, wagons, coupes, cabriolets, and E500 models. Similar-looking parts are not automatically interchangeable.
Confirm the exact model designation, model year, body style, market specification, and, when possible, VIN-based equipment. US-spec lighting and bumper trim can differ substantially from European-market components. A restoration that mixes the two may be a deliberate preference, but it should never be an accidental parts-ordering mistake.
Before removing anything, photograph every exterior trim section in place. Capture how moldings meet at wheel arches, door gaps, quarter panels, and bumper corners. Original installation details are often more useful than an exploded diagram, especially where a previous repair has hidden clips, screws, or sealing strips.
Classic Mercedes Exterior Trim Guide: Major Part Groups
Grilles, Stars, and Front-End Brightwork
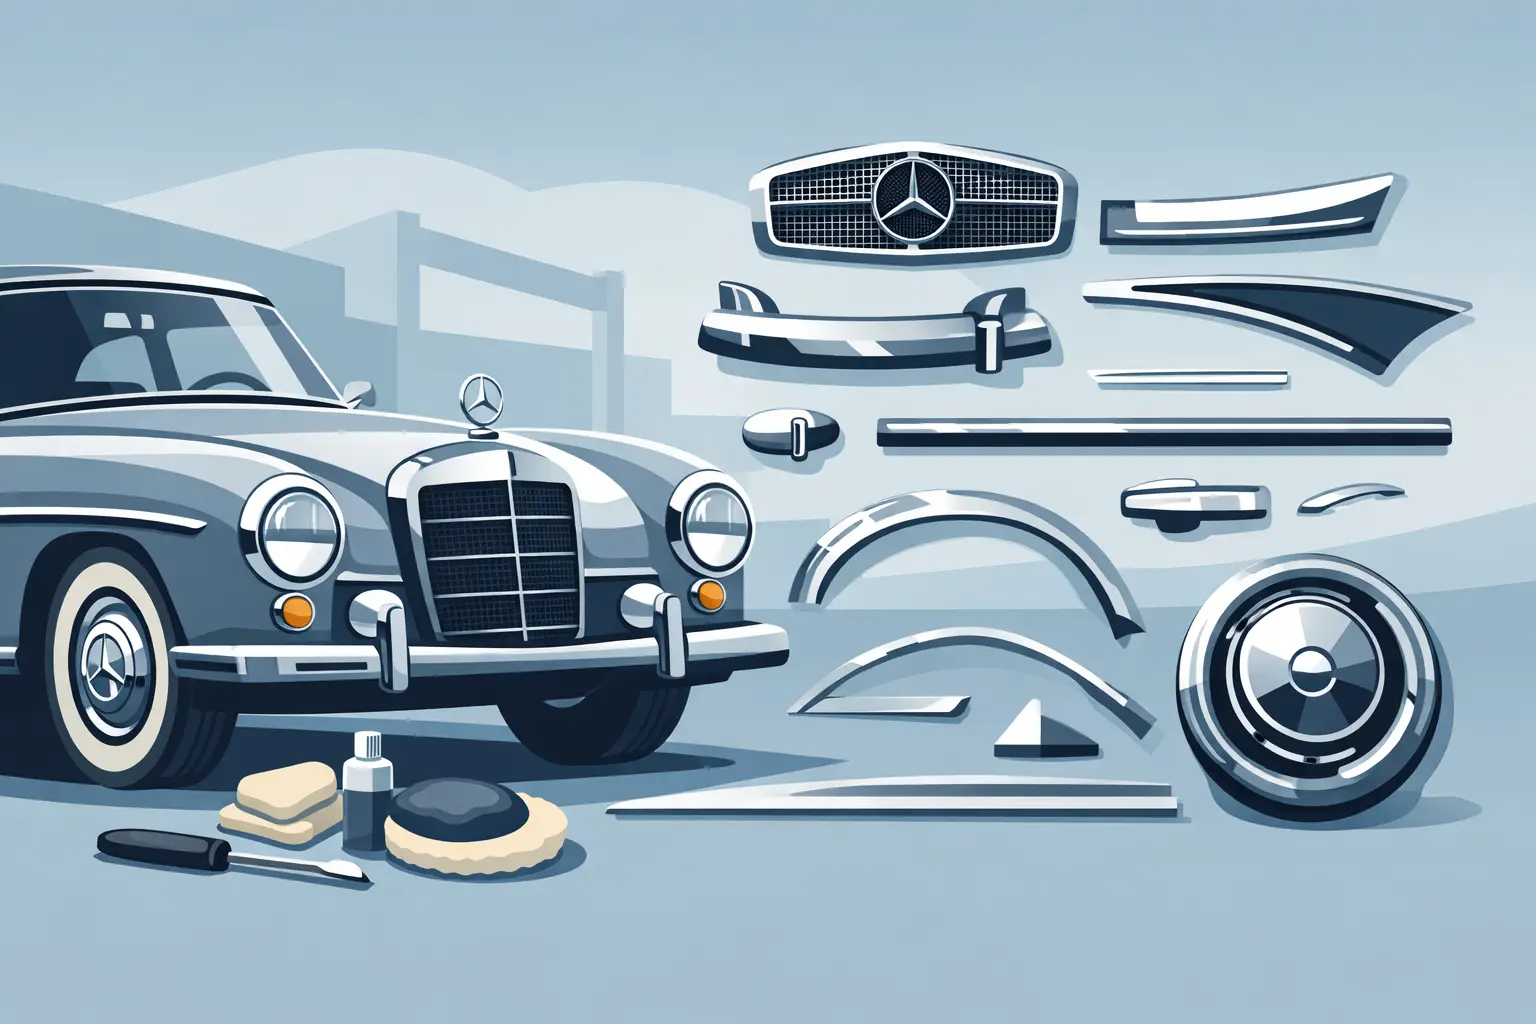
The grille is one of the most visible model identifiers on a classic Mercedes. A W113 Pagoda grille shell, a W111 coupe grille, and an R107 grille may all feature traditional Mercedes design cues, but their dimensions, grille inserts, mounting points, and finish details are specific to each chassis.
Inspect the grille shell for pitting, bent edges, loose trim, broken mounting tabs, and poor prior replating. Stainless steel and aluminum pieces may be repairable, while pot-metal components with severe corrosion can be more difficult to restore correctly. Replacement is often the better choice when a plated part has deep pits or distorted mounting surfaces.
Do not overlook the star, base, and hood-mounted hardware. A star that sits at the wrong angle, a worn grille surround, or mismatched fasteners can make an otherwise correct front end look unfinished. For models with headlamp doors or chrome headlight surrounds, check both sides together. Aging, sun exposure, and previous collision repairs often leave one side noticeably duller or differently shaped.
Bumpers, Impact Strips, and Corner Pieces
Bumper systems are among the areas where year and market specification matter most. Earlier chrome bumper assemblies can use separate overriders, rubber inserts, end caps, brackets, and hardware. Later cars may have painted or anodized impact strips that are difficult to match when only one damaged section is replaced.
For US-market R107 SLs, bumper assemblies and lighting elements need careful inspection after even minor impacts. A bumper cover can look acceptable while its reinforcement, brackets, guide pieces, or side trim have shifted. Misalignment usually shows up first at the fender or quarter-panel junction.
When shopping for bumper trim, identify whether you need the visible molding only or the complete installation set. Old clips, distorted brackets, and hardened rubber isolators are common reasons a new trim piece fails to sit flush. Reusing fatigued hardware to save a few dollars can turn a clean installation into a recurring adjustment problem.
Side Moldings, Rocker Trim, and Wheel-Arch Pieces
Long side moldings define the profile of many classic Mercedes models. On the W111 and W108/W109, brightwork is a major part of the design. On the W124 and W201, body-side cladding and moldings are more restrained but still critical to factory appearance. These pieces are particularly vulnerable to parking damage, incorrect jacking, and rust developing behind clips.
Check the panel beneath the molding before buying replacement trim. If a rocker panel or lower door edge has corrosion, new brightwork can conceal the issue temporarily while trapping moisture against compromised metal. Repair the substrate, restore drainage, and apply appropriate corrosion protection before fitting the finished piece.
Wheel-arch trim requires extra care. It can protect the arch edge, but it can also hold dirt and moisture if fitted over damaged paint or poorly repaired metal. Fit each section dry first, verify the curvature, then install using correct clips and sealing materials. Forcing a molding into position risks a permanent wave or a chipped paint edge.
Window Surrounds, Scrapers, and Seals
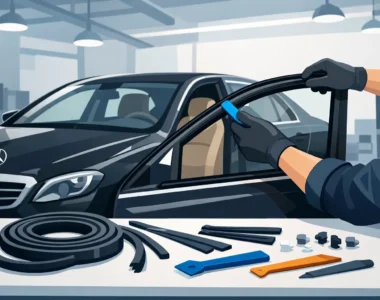
Exterior window trim is where a cosmetic project quickly becomes a weatherproofing job. Chrome or anodized window surrounds, windshield moldings, beltline strips, door glass scrapers, and quarter-window seals must work as a system. A bright new molding will not solve a leaking windshield gasket or a cracked scraper that allows water into the door.
On W123, W124, W201, and R129 vehicles, faded black trim and hardened beltline seals can make the car look older than it is. On earlier chassis, damaged polished trim has the same effect. Match the original finish rather than assuming all trim should be chrome. Mercedes used polished stainless, anodized aluminum, satin finishes, painted surfaces, and black plastic across different generations.
Whenever glass is removed, inspect the surrounding channel for corrosion. This is particularly important around windshields, rear windows, and sunroof openings. Correct trim installation depends on a solid, properly shaped body flange. If the flange is rusty or distorted, the molding may sit proud, leak, or pop loose later.
Lighting Trim and Exterior Rubber
Headlight doors, lamp bezels, taillight surrounds, indicator lenses, reflector seals, and gasket sets are often treated as small finishing items. In reality, they control panel fit and keep moisture out of expensive light assemblies. Cracked taillight seals can allow water into trunk areas; damaged headlamp seals can lead to fogging, corrosion, and brittle electrical connections.
Exterior rubber deserves the same attention as brightwork. Replace flattened door seals, trunk seals, bumper rub strips, license-plate gaskets, and body plugs when they no longer recover their shape. Original-style profiles matter. A universal seal may technically fill a gap, but it can make doors difficult to close, leave an uneven edge, or alter the intended body line.
Finish Matching: Originality Versus Practical Repair
A full concours restoration calls for a consistent, period-correct finish across every visible piece. A well-maintained driver may call for a different decision. It can be reasonable to replace only the damaged molding or lamp bezel when the surrounding trim remains presentable and the car is not being judged.
The trade-off is color and sheen consistency. New anodized aluminum can appear brighter than weathered original trim. Fresh black impact strips can contrast with faded adjacent pieces. Replated parts may look overly bright compared with factory finishes if the shop uses a modern process without regard for the original appearance.
For a high-visibility area such as a grille, windshield surround, or full side molding set, replacing or refinishing matched components often produces the best result. For lower rocker trim or a single bumper insert, targeted replacement may be more sensible. The right answer depends on the vehicle’s condition, budget, and intended use.
Installation Details That Protect the Finish
Trim installation is not the place to improvise with household adhesives, oversized screws, or metal tools against fresh paint. Use correct clips, retainers, gaskets, and fasteners where specified. Many Mercedes moldings are designed to slide, hook, or lock in a particular direction; pushing from the wrong point can crease a piece that cannot be straightened cleanly.
Clean mounting channels thoroughly and remove old adhesive, broken clip fragments, and trapped dirt. If clips mount through body holes, inspect those holes for rust and confirm the clip has a firm seat before presenting the trim. Apply protective tape along vulnerable paint edges during test-fitting, then remove it once alignment is confirmed.
Work from a known reference point, usually a body seam, lamp opening, or centerline, rather than starting at one end of a long molding and hoping the final gap works out. On long door and rocker pieces, a few millimeters of error at the first clip becomes an obvious mismatch at the last one.
Buy Parts as Systems, Not Isolated Pieces
When an exterior trim component has failed, inspect the related pieces before placing an order. A cracked taillight lens may also mean a failed gasket. A missing side molding may mean its clips were damaged during bodywork. A bent bumper insert may indicate a distorted bracket behind it.
Mercedes Parts Zone specializes in chassis-specific classic Mercedes components, making it easier to source the exterior parts that match the vehicle rather than settling for universal substitutes. Compare the part application carefully, and order the associated clips, seals, and mounting hardware when the original pieces show age or damage.
The best exterior trim work looks unremarkable because every line lands where Mercedes intended. Take the extra time to verify fitment, protect the body beneath the molding, and install the supporting hardware correctly. Your classic will look right from ten feet away, and it will still be properly sealed and secure after the next season of driving.