
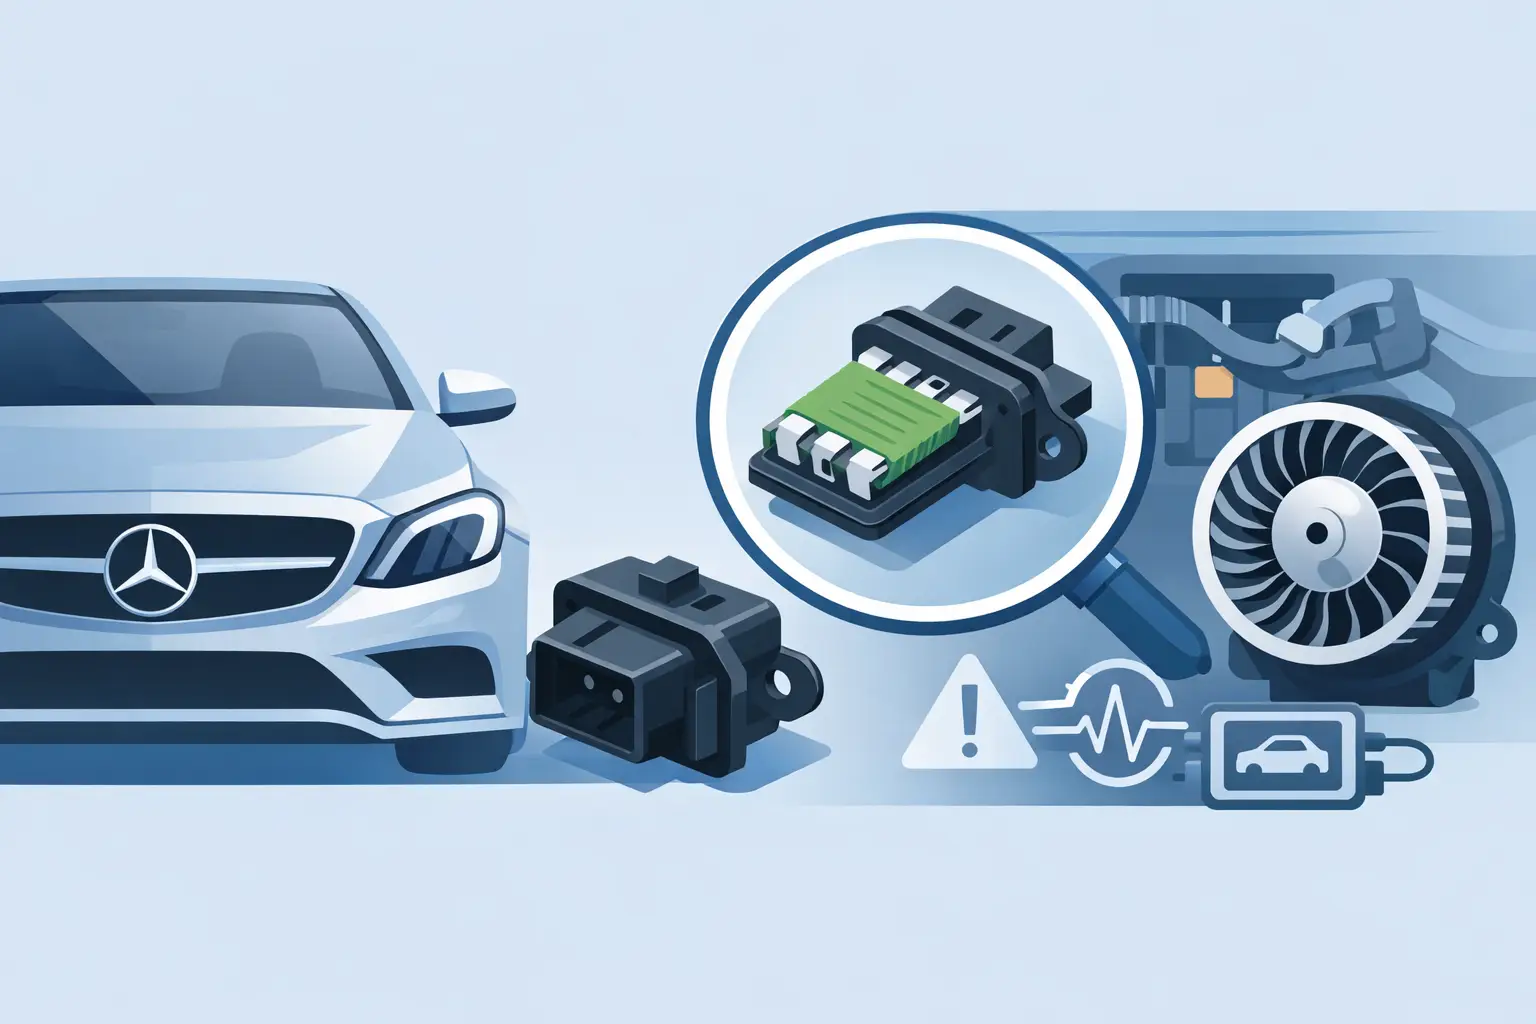
A heater or A/C fan that works only on high, cuts in and out, or refuses to run can turn an otherwise well-sorted Mercedes into a frustrating driver. The Mercedes blower motor resistor is often the first component blamed, and it is a common failure point on many classic chassis. But the correct repair depends on the climate-control design, the chassis, and whether the car uses a conventional resistor pack or an electronic blower regulator.
For owners of W107 SLs, W123s, W124s, W201s, R129s, and other collector-era Mercedes-Benz models, the goal is not merely to restore fan operation. It is to install the model-correct part, avoid unnecessary replacement of expensive components, and protect the blower motor and wiring from further damage.
What a Mercedes Blower Motor Resistor Does
A conventional blower motor resistor controls fan speed by placing electrical resistance in the circuit. At lower fan settings, current passes through one or more resistor paths before reaching the blower motor. The resistance reduces voltage and slows the fan. At the highest setting, many systems bypass the resistor entirely, supplying the blower motor with near-full battery voltage.
That design explains the classic symptom: the fan works on high but not on one or more lower speeds. A burned resistor element, failed thermal fuse, overheated connector, or corroded terminal can interrupt the lower-speed circuits while leaving the high-speed bypass functional.
Not every Mercedes uses the same arrangement. Earlier manual heater and A/C systems commonly use a resistor assembly with stepped fan speeds. Later automatic climate-control systems may use a transistorized electronic regulator, sometimes called a blower regulator or final-stage unit. These parts perform a similar job, but they are not interchangeable and they fail differently.
A resistor pack is generally associated with distinct fan speeds. An electronic regulator often allows smoother or continuously variable blower operation. Ordering by a generic description alone is risky, especially across W124, W201, and R129 production years where climate-control equipment and electrical revisions can vary.
Mercedes Blower Motor Resistor Symptoms
Fan-speed behavior provides the most useful first clue. If the blower operates only at maximum speed, a conventional resistor assembly or its thermal protection is a likely suspect. If only one intermediate speed is missing, one resistor circuit may have failed. If the fan is completely dead at every setting, the fault may instead be the blower motor, fuse, relay, control panel, ignition-switched feed, ground connection, or wiring.
Intermittent operation deserves a closer inspection before parts are ordered. A blower that starts after hitting a bump, changes speed when the dash is moved, or returns briefly after a fuse is disturbed may have a loose connector, damaged harness, tired blower brushes, or a failing switch. Heat at the resistor connector can discolor terminals and soften the plastic housing. Replacing the resistor without repairing heat-damaged terminals can result in another early failure.
On automatic climate-control cars, a fan that runs at full speed without responding to the controls can point to a failed electronic regulator. A blower that changes speed randomly, continues running after the key is removed, or operates only intermittently can also indicate a regulator fault. The symptoms overlap enough that a chassis-specific wiring diagram and a basic voltage test are worthwhile.
Why Resistors Fail on Classic Mercedes Models
A blower resistor is not usually the root cause of overheating. It is often the component that finally gives up after working under excessive electrical load. The main cause is a blower motor that is drawing too much current.
Over time, blower motor bearings dry out, brushes wear, and debris accumulates in the fan cage. The motor has to work harder to turn, increasing amperage and heat through the resistor circuits. Water intrusion, leaf debris, and restricted air passages can compound the problem. On cars that have sat for years, a stiff blower motor can quickly damage a new resistor or regulator.
Before installing a replacement, turn the blower wheel by hand if access permits. It should rotate freely without scraping or excessive drag. Inspect the connector for melted insulation, green corrosion, or terminals that have lost their tension. A fuse that runs hot or repeatedly fails is another reason to investigate motor current draw rather than treating the resistor as the sole issue.
The trade-off is practical. Replacing only the failed resistor may get the system working at the lowest immediate cost. Replacing a weak blower motor at the same time costs more, but can prevent repeating the job on dashboards and heater boxes that are labor-intensive to access.
How to Confirm the Fault Before Ordering
Start with the basics: verify the relevant fuse, inspect the blower relay where fitted, and make sure the climate-control or fan-speed switch is receiving power. Mercedes fuse panels on older cars can develop oxidation at the fuse ends, and ceramic fuses may look intact while making poor contact. Clean, correctly rated fuses and tight contacts matter.
Next, identify the blower system in the car. A manual fan control with numbered detents often suggests a resistor pack, while an automatic climate-control panel may use an electronic regulator. This is only a starting point. Confirm the original part number, VIN application, production date, and equipment configuration before purchasing.
With a multimeter, check for voltage at the blower motor on each speed setting. If voltage reaches the motor but it does not run, the motor or its ground circuit is suspect. If the blower runs at high but lower speeds have no output from the resistor assembly, the resistor is likely faulty. Resistance testing can help, but a visual inspection is equally valuable because burned coils, cracked ceramic sections, and heat-damaged terminals are often obvious.
For electronic regulators, diagnosis is more dependent on input and output voltage checks. A regulator can receive a proper control signal yet fail to deliver stable voltage to the motor. Because pin assignments differ by chassis and system, avoid probing connectors blindly. Use the correct wiring information for the vehicle and disconnect the battery before unplugging or replacing components.
Fitment Matters More Than a Generic Listing
The phrase “blower motor resistor” can describe several different parts across the Mercedes-Benz catalog. A W107 380SL, a late W124 E-Class, and an R129 SL may have different blower housings, connector styles, control modules, and resistor or regulator designs. Even within one chassis, changes in model year, market equipment, air conditioning type, and automatic versus manual climate control can alter the correct application.
Use the chassis code as the starting point, not the final answer. Confirm the exact model and year, then compare the original part number and connector arrangement whenever possible. A replacement that looks similar may have a different pin count, mounting pattern, heat-sink design, or calibration.
This is especially relevant when restoring a car that has received prior repairs. A replacement heater box, swapped dashboard harness, or converted climate-control panel can mean the car no longer matches its original catalog configuration. In those cases, identify the part currently installed and verify the electrical system rather than ordering solely from the vehicle badge.
For serious restorations, model-correct fitment also protects originality. A properly matched component installs cleanly, connects without harness modifications, and preserves the intended fan-speed operation. That matters on an R107 SL or W113 Pagoda where shortcuts behind the dash can become expensive to reverse.
Replacement Tips That Protect the New Part
Access varies widely. Some Mercedes resistor assemblies sit in or near the blower housing where airflow keeps them cool. Others require removal of lower dash panels, glove box components, kick panels, or sections of the climate-control housing. Do not force brittle interior trim or pull on aged wiring. Label connectors and fasteners as they come out, particularly on cars with previous electrical work.
Disconnect the battery before working on the circuit. Once the old part is removed, inspect the connector closely. Any melted plastic, darkened terminal, or loose female terminal should be repaired before a new resistor or regulator is installed. Clean terminals alone are not enough if they no longer grip the connector pins firmly.
After installation, test every fan setting before reassembling trim. Listen for rubbing, squealing, or a blower speed that surges unexpectedly. If possible, check blower motor current draw against the specification for the system. A new resistor that becomes unusually hot within minutes, a hot connector, or a blower that sounds strained should stop the job for further diagnosis.
Selecting the Right Replacement Part
For a classic Mercedes, the cheapest available electrical part is rarely the best value. Blower controls manage substantial current and operate in a hot, enclosed environment. Correct terminal quality, heat tolerance, mounting fit, and calibration are more important than a generic universal match.
Mercedes Parts Zone focuses on vehicle-specific components for classic Mercedes-Benz applications, making chassis and part-number verification the right first step before ordering. Have the VIN, model year, chassis code, climate-control type, and any number visible on the original component ready. That information helps distinguish a true resistor assembly from a blower regulator and reduces the chance of ordering a part that cannot be installed correctly.
A restored fan system should do more than move air. It should provide predictable speed control, clean electrical connections, and the quiet operation expected from a properly maintained Mercedes-Benz. Address the resistor, blower motor, and connector condition together, and the repair is far more likely to last.



1 Comment