
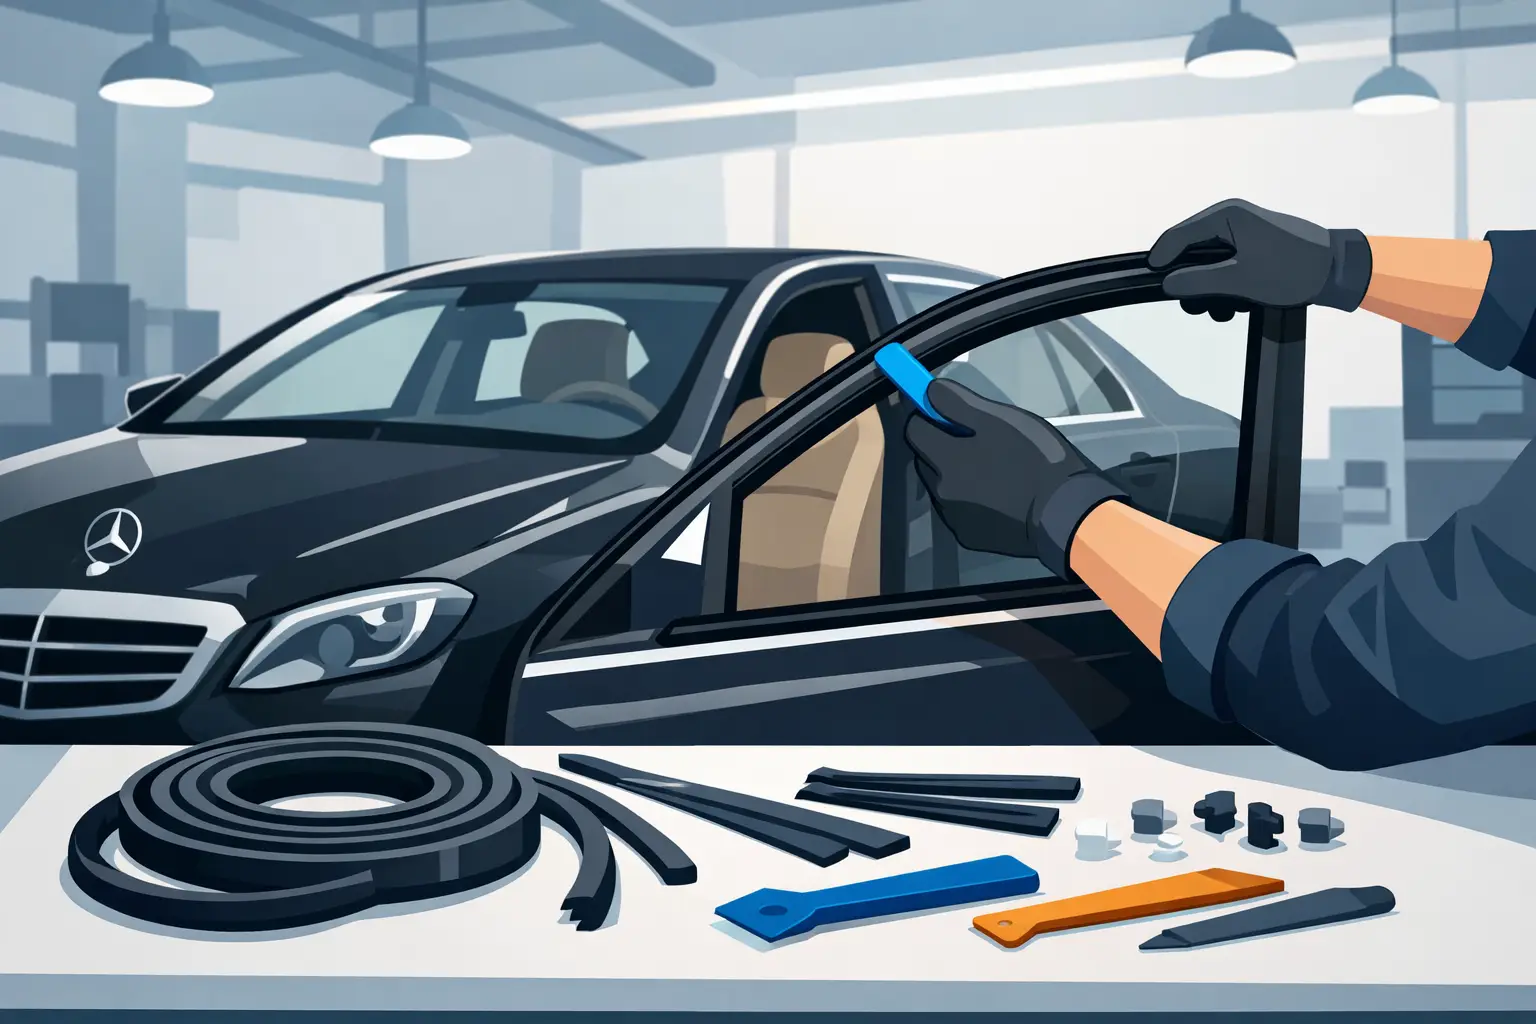
A hardened seal around the glass can make an otherwise well-sorted Mercedes feel unfinished. Wind whistle at highway speed, water on the carpet, rust beginning below a windshield corner, and cracked exterior rubber are all reasons to learn how to replace Mercedes window seals before the surrounding bodywork pays the price. On classic chassis, this is not a universal trim job. The correct method depends on whether you are replacing a door-glass scraper, a fixed-quarter-window gasket, or the windshield and rear-window seal.
For W107 SLs, W113 Pagodas, W124 sedans, W201s, R129s, and older W111 coupes and sedans, fitment is everything. A seal that appears similar can have the wrong profile, molding channel, corner shape, or glass thickness. Start with the chassis, body style, model year, and the exact window location before ordering parts or removing trim.
Identify Which Mercedes Window Seal Needs Replacement
“Window seal” can describe several different components, and each is installed differently. Door windows commonly use inner and outer beltline scrapers, vertical guide-channel rubber, and sometimes a run-channel liner. These parts control the glass as it moves and keep water from entering the door in excessive amounts.
Fixed glass – windshield, rear glass, quarter glass, and hardtop glass – generally uses a one-piece perimeter gasket or bonded urethane system, depending on the chassis and production year. Many earlier Mercedes models use a rubber-locking gasket with decorative anodized aluminum or chrome trim. Later cars may use bonded glass, where the adhesive does as much work as the visible molding.
Do not assume a leak is caused by the most visible rubber. Water entering a W124 or W201 door may be normal at the outer scraper, while a blocked door drain is the actual problem. Water at the front footwell can come from a windshield gasket, cowl drain, heater box area, or sunroof drain. Test carefully before taking anything apart.
Parts and Tools for How to Replace Mercedes Window Seals
The job goes smoothly when the replacement seal matches the original profile and you have the correct tools ready. Avoid cutting a universal strip to fit a classic Mercedes unless it is specifically intended as a bulk replacement for that application. Universal rubber often looks acceptable at first, then shrinks, curls, or fails to retain trim.
For most seal work, prepare the following:
- Chassis-correct window seal, scraper, guide channel, or molding clips
- Plastic trim tools and a non-marring hook tool
- Glass suction cups for windshield, rear-window, or quarter-glass removal
- Nylon cord for rope-in gasket installation
- Silicone-free rubber lubricant or a manufacturer-approved installation lubricant
- Glass cleaner, clean rags, masking tape, and a plastic scraper
- Rust treatment materials, primer, and paint if corrosion is found beneath the seal
Use a plastic or nylon tool whenever possible. A screwdriver can quickly chip paint, scratch glass, bend rare molding, or puncture a new gasket. If your car uses bright trim locked into a seal, inspect the trim before removal. Original W113, W107, and W111 moldings are expensive to replace and easy to distort.
Confirm the glass and trim configuration
Before removing the old seal, photograph every corner, joint, clip, and molding overlap. This matters most on cars with locking strips or multiple sections of exterior trim. Mark the glass orientation with tape, especially if it is removed from a door frame or hardtop. Original glass may have subtle edge shapes or factory markings that help confirm its correct position.
For fixed glass, verify whether the replacement gasket accepts your existing molding. Some seals are sold without channels for decorative trim, while others are made for cars without trim. The wrong version may install around the glass but leave no way to refit the original brightwork.
Replacing Door Glass Scrapers and Run Channels
Door-glass seals are usually the more manageable home-garage repair. The outer scraper is the exposed strip at the top of the door skin. The inner scraper sits along the top of the interior door panel. Vertical channels guide the glass inside the frame.
Begin by removing the door panel carefully. On classic Mercedes doors, disconnect switches, courtesy lights, vapor barriers, and linkage only as needed. Save original clips if they are serviceable, but expect brittle panel clips and moisture barriers to need replacement. A torn barrier can send rainwater behind the door panel even if the new scraper is perfect.
Lower the glass until the scraper fasteners or retaining clips are accessible. Depending on the chassis, the outer scraper may slide from one end, release from clips, or require removal of a small end cap. Do not pull it upward forcefully. Check for a hidden fastener near the mirror end or rear of the door.
Clean the mounting edge thoroughly and remove old adhesive residue without damaging paint. Install the new scraper in the same direction as the original. It should sit evenly along the door edge and apply light, consistent contact to the glass. Too much pressure can slow the window regulator; too little allows excess water and dirt into the door.
If the glass rattles, rises crookedly, or leaves a gap at the top, inspect the run channels as well. Replacing only the beltline scraper will not correct hardened or collapsed guide-channel rubber. On coupes and roadsters with frameless glass, precise adjustment of the regulator and window stops is often required after new channels are installed.
Replacing a Windshield or Rear Window Gasket
A windshield or rear-window seal is a different level of work. The glass is heavy, corners are vulnerable, and hidden corrosion is common on cars that have seen decades of weather. Two people are strongly recommended. If the glass is cracked, delaminated, or rare, a specialist familiar with classic Mercedes glazing may be the better choice.
On a traditional gasket-set windshield, remove the exterior molding first if applicable. Work slowly around the perimeter with a trim tool. Once trim is out, the old gasket can often be cut away from the outside if the glass will be reused and the seal is being discarded. Never pry aggressively against the glass edge.
With one person supporting the glass from outside, press gently from inside near the upper corners and work around the perimeter. Lift the glass out and place it on padded supports. Do not set windshield glass directly on concrete or lean it against a wall where it can twist.
Treat rust before installing new rubber
This is the step that determines whether the repair lasts. Clean the pinchweld and inspect every section, especially the lower corners and areas beneath molding clips. Surface rust must be removed, stabilized, primed, and refinished. Perforation, deep pitting, or a distorted window opening requires metal repair before glass goes back in.
Installing a new seal over active rust hides the problem temporarily. Moisture remains trapped, the pinchweld deteriorates, and the gasket may no longer sit evenly. On a collectible Mercedes, preserving the window aperture is more valuable than rushing the car back together.
Install the gasket and glass with the rope-in method
For a non-bonded gasket, fit the new rubber around the clean glass first. Make sure the lip orientation matches the original seal. Then place a nylon cord into the gasket channel that will grip the body flange, leaving overlapping cord ends at the bottom center.
Set the glass and gasket into the lower edge of the opening with a helper holding steady pressure from outside. From inside the car, pull one cord end slowly to roll the inner gasket lip over the body flange. Alternate sides as you work upward so the glass stays centered. Use moderate hand pressure from outside only when needed. Do not strike the glass.
After the seal is seated, inspect the inside and outside lips all the way around. Install the locking strip or decorative molding only after confirming the gasket is fully positioned. A small amount of approved rubber lubricant can help, but avoid petroleum products that can damage rubber or contaminate paint.
Bonded windshields require the correct urethane, primer system, glass-setting blocks, and curing procedure. This is not a place to substitute household adhesive or generic sealant. If your Mercedes uses bonded glass, professional installation is often the safer route, particularly where airbag support or structural bonding is involved.
Test for Leaks and Protect the New Seal
Allow any adhesive or sealant to cure as specified before testing. Then use a gentle water flow, starting low and moving upward. Do not blast the edges with a pressure washer. Have someone sit inside with a bright light and inspect the perimeter, dash corners, headliner edge, and door cards.
If a leak remains, do not immediately smear sealant around the exterior. That can trap water, make future service harder, and conceal an incorrectly seated gasket. Find the entry point first. Check drains, trim clips, body seams, and the gasket lip before deciding whether reseating or sealing is necessary.
New rubber benefits from routine cleaning with mild soap and water. Avoid harsh solvents and heavy silicone dressings that leave residue on glass and attract dust. Keeping cowl, door, and sunroof drains clear will do as much for dry interiors as a new seal.
For classic Mercedes ownership, the right seal is more than cosmetic trim. It protects original carpets, interior panels, window frames, and bodywork that may be far harder to replace than the rubber itself. Select parts by chassis and glass location, preserve original trim where possible, and stop to repair corrosion before it disappears behind a fresh gasket. Mercedes Parts Zone can help owners narrow their search to model-correct classic Mercedes components when the job calls for the right profile rather than a close substitute.




1 Comment